This topic has been marked solved and closed to new posts due to inactivity. We hope you'll join the conversation by posting to an open topic or starting a new one.
- Subscribe to RSS Feed
- Mark Topic as New
- Mark Topic as Read
- Float this Topic for Current User
- Bookmark
- Subscribe
- Printer Friendly Page
- Mark as New
- Bookmark
- Subscribe
- Mute
- Subscribe to RSS Feed
- Permalink
- Report Inappropriate Content
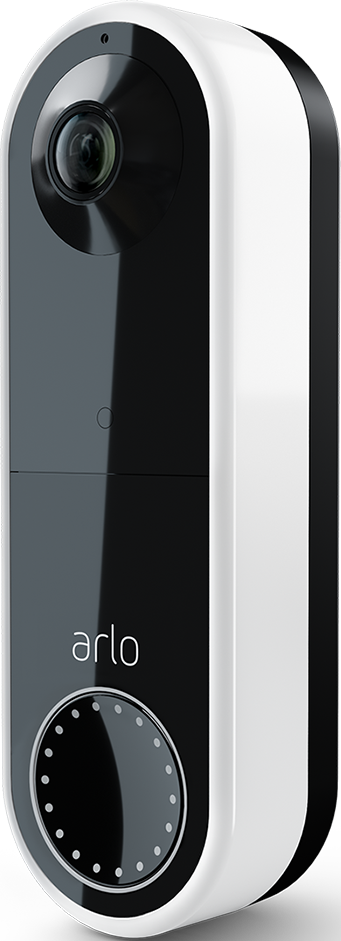
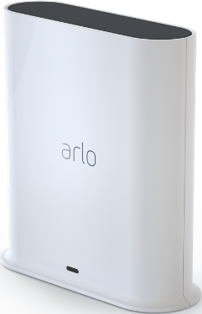
I recently purchased the Wired Doorbell 4K Mid to Large Home Bundle that includes the wired video doorbell, two Ultra 2 cameras, the Pro 3 Floodlight camera, and an Ultra SmartHub. I have everything hooked up and all devices connected to the SmartHub. I can't figure out how to set up separate schedules for the cameras and doorbell. I have a schedule set up to have the cameras active from 9 PM to 6 AM but would like to have the doorbell active 24/7. Does anyone know a solution? Thanks in advance for your help.
Solved! Go to Solution.
- Related Labels:
-
Troubleshooting
Accepted Solutions
- Mark as New
- Bookmark
- Subscribe
- Mute
- Subscribe to RSS Feed
- Permalink
- Report Inappropriate Content
Thank you for the additional instructions! I think I have it set up as desired now. For anyone else looking to do this, here are the basic steps -
1. Use the Schedule mode to arm the desired cameras for the desired period (I have three cameras plus a video doorbell set to arm between 9 PM and 6 AM.
2. Create a Custom mode to control a single device (I wanted the doorbell only to also be armed between 6 AM and 9 PM for 24-hour coverage). I named my custom mode 'Doorbell' as suggested.
3. Go back to the Schedule mode and add a schedule (click +Add at the top of the screen). An "Add Schedule" window will pop up showing 'Armed' at the top with an arrow to the right. Click on that arrow and it will open that field to show a check mark next to Armed and your new Custom mode below (Doorbell, in my case).
4. Click the new Custom mode so the check mark is now next to it, set the days and times you want it to be active, and click Save. The Custom mode will now be added into the Schedule mode for the selected device.
I hope that helps!
- Mark as New
- Bookmark
- Subscribe
- Mute
- Subscribe to RSS Feed
- Permalink
- Report Inappropriate Content
Multiple modes with rules for only the cameras needed at any point in time.
Add the doorbell to the nighttime mode (if not already there). Then create a new mode with a rule for only the doorbell. Schedule that from 6AM to 9PM.
- Mark as New
- Bookmark
- Subscribe
- Mute
- Subscribe to RSS Feed
- Permalink
- Report Inappropriate Content
Thanks for the quick reply. That would be an ideal solution, but I don't see a way to do that in the Arlo app or through the website. I can create a new mode for the doorbell to record when it detects activity, but I don't see an option to set it for a certain time period. It also looks like the SmartHub only allows one mode to be active at a time. I suppose I could disconnect the doorbell from the SmartHub so it isn't affected by the Schedule mode. Unfortunately, I think that would prevent doorbell recordings from being saved to the SmartHub local storage.
- Mark as New
- Bookmark
- Subscribe
- Mute
- Subscribe to RSS Feed
- Permalink
- Report Inappropriate Content
@jdawg4261 wrote:
Thanks for the quick reply. That would be an ideal solution, but I don't see a way to do that in the Arlo app or through the website. I can create a new mode for the doorbell to record when it detects activity, but I don't see an option to set it for a certain time period.
Let's take it step by step. Keep in mind that the advice above only applies if the doorbell is also connected through the smarthub.
You want all the cameras + the doorbell armed between 9 pm and 6 am. The existing ARMED mode of the doorbell will do that (and your schedule should be already set up to use that mode during those hours).
You also want all the cameras except the doorbell armed between 6 am and 9 pm. So next create a mode that does that. Call it Doorbell. It should only contain one rule - which will arm the doorbell. Note that this mode doesn't just arm the doorbell. It also disarms the cameras - a point I think you overlooked. A mode always controls all the cameras connected to the base - any camera missing from the mode is disarmed when the mode is active.
If you already have a schedule in place for the cameras, then schedule is using ARMED between between 9 pm and 6 am, and is blank between 6 am and 9 pm. The last step in creating the schedule is to fill in the blank section with the Doorbell mode. Then the doorbell will remain active 24/7.
- Mark as New
- Bookmark
- Subscribe
- Mute
- Subscribe to RSS Feed
- Permalink
- Report Inappropriate Content
Thank you for the additional instructions! I think I have it set up as desired now. For anyone else looking to do this, here are the basic steps -
1. Use the Schedule mode to arm the desired cameras for the desired period (I have three cameras plus a video doorbell set to arm between 9 PM and 6 AM.
2. Create a Custom mode to control a single device (I wanted the doorbell only to also be armed between 6 AM and 9 PM for 24-hour coverage). I named my custom mode 'Doorbell' as suggested.
3. Go back to the Schedule mode and add a schedule (click +Add at the top of the screen). An "Add Schedule" window will pop up showing 'Armed' at the top with an arrow to the right. Click on that arrow and it will open that field to show a check mark next to Armed and your new Custom mode below (Doorbell, in my case).
4. Click the new Custom mode so the check mark is now next to it, set the days and times you want it to be active, and click Save. The Custom mode will now be added into the Schedule mode for the selected device.
I hope that helps!
-
alarm
1 -
Amazon Alexa
1 -
Arlo Mobile App
294 -
Arlo Secure
1 -
Arlo Smart
147 -
Arlo Ultra
1 -
Arlo Video Doorbell
6 -
AVD1001-100NAS
1 -
Before You Buy
291 -
Doorbell
1 -
Dépannage
1 -
Features
349 -
Installation
596 -
Motion Detection
9 -
Online and Mobile Apps
12 -
Service and Storage
12 -
Troubleshooting
1,545 -
Videos
15
- « Previous
- Next »

